As well as having the option to add tags to your contacts you can now also add tags to your bookings. This can give you much greater control over how you categorise your bookings data for searching, reports and exports.
IMPORTANT: The first step here is to add some tags to your settings. You can free type the tags if you haven’t setup any defaults but generally it’s better to start with a pre-defined list then add as necessary, this will keep the options set which is beneficial if you have a larger team using Overture.
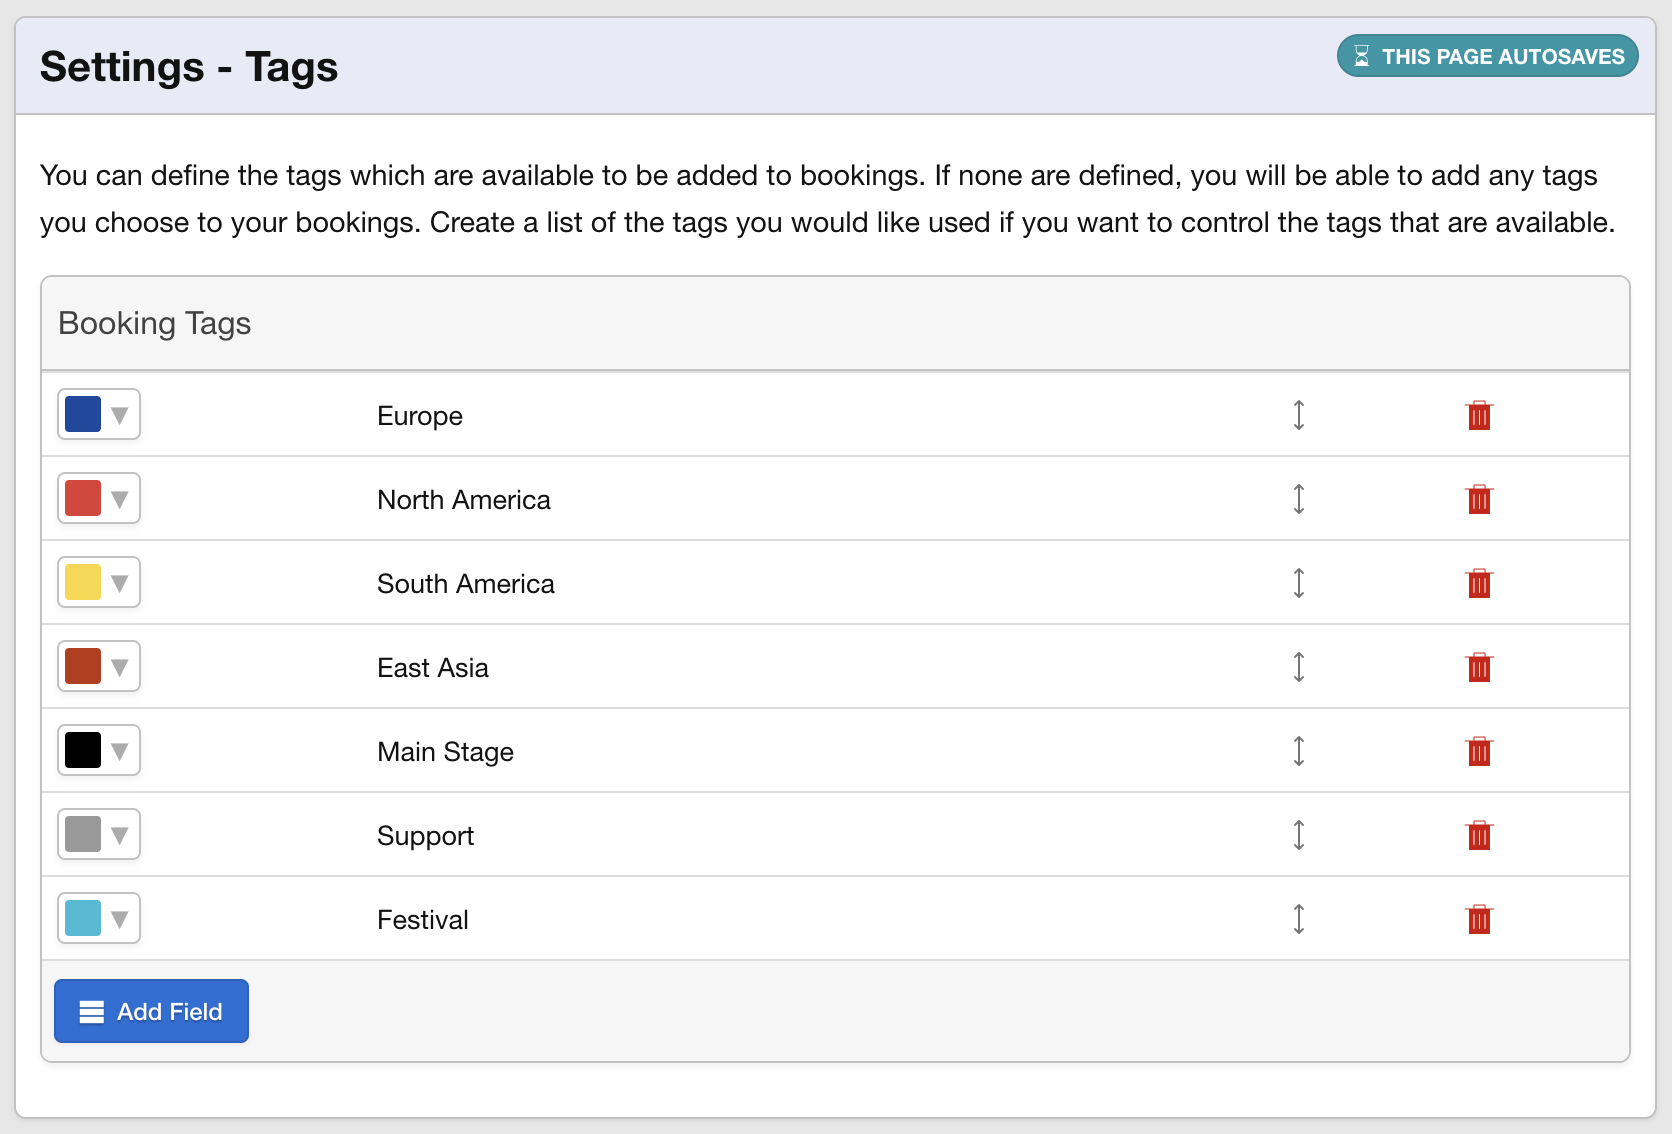
Head over to Settings > Bookings Tags, and click the ‘Add Field’ blue button. Enter the name of the tag and press enter on your keyboard, choose a colour and then add any further tags that you like. In the example above I’ve just added some regions (already available in Overture but you may, for example, wish to refine your own) and also some tags I may want to search in my bookings such as whether the Artist played on the Main Stage etc.
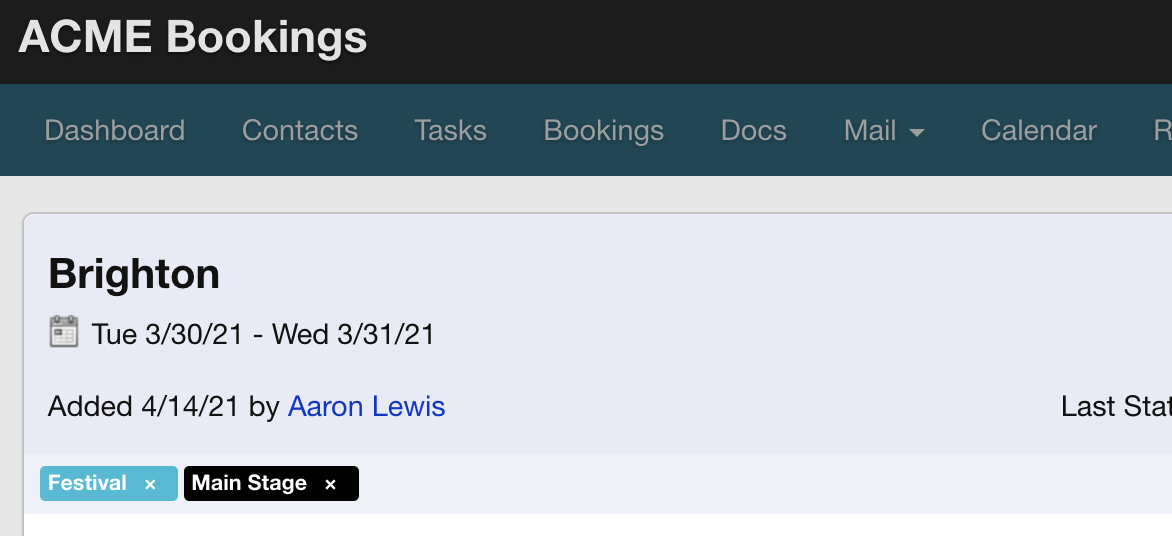
Once that’s all setup you can begin to add the tags to your bookings. You will see at the top of a booking the option to ‘Add Booking Tag’.
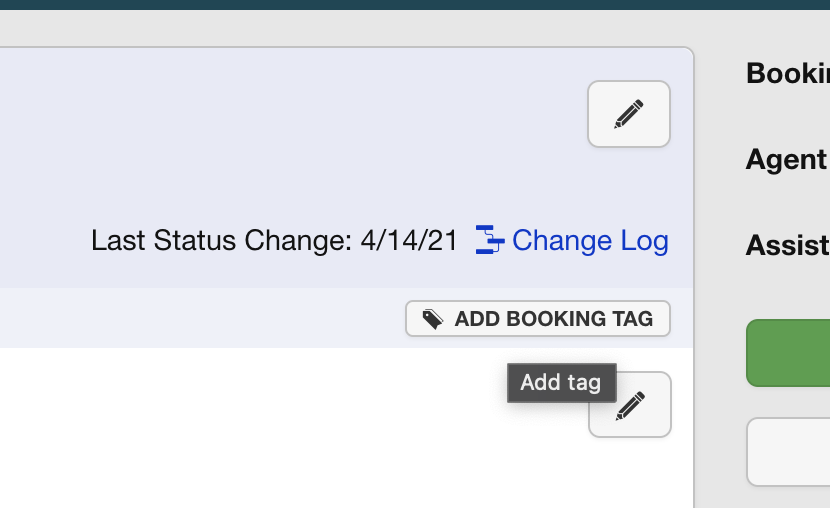
Click that to open the popup window where you can select from the list added into the settings previously.
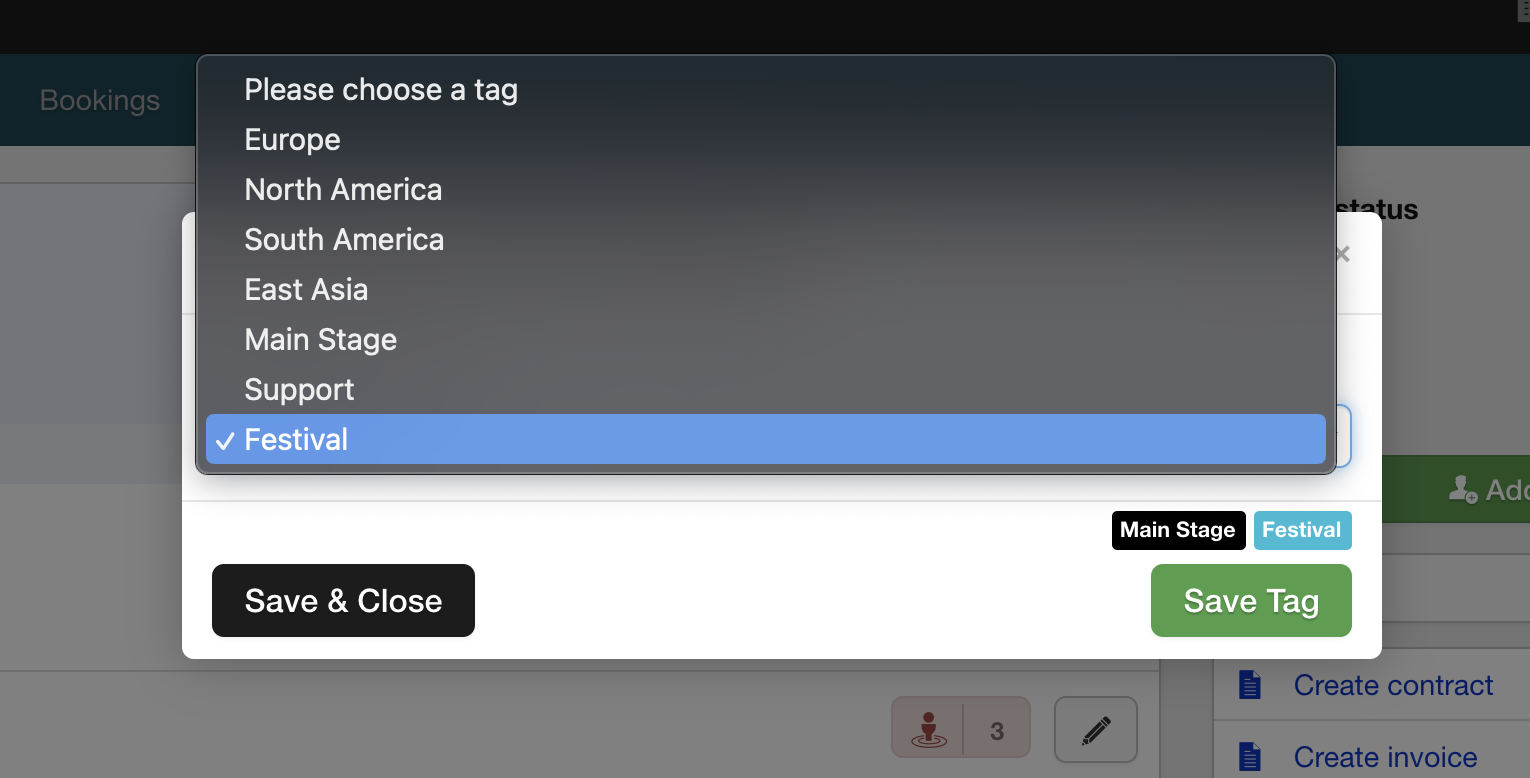
In this window you can choose more than one tag by clicking ‘Save Tag’ each time, you will see the tags added appear in the popup so you can keep track. When you are done click ‘Save & Close’, you will now see the tags in the top of the booking.
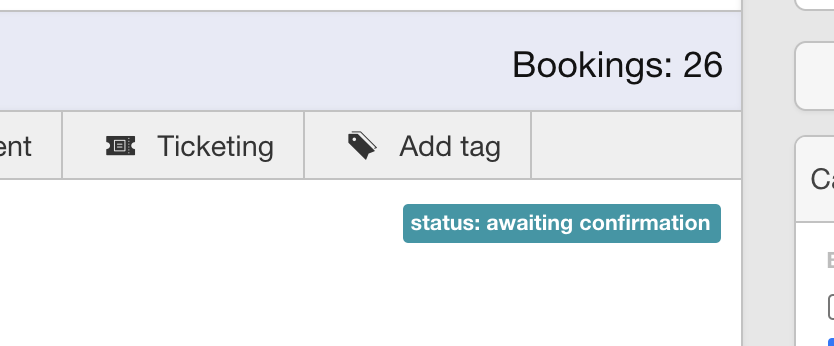
You can also add tags to more than one booking from the Bookings List screen. All you need to do is select the bookings using the checkbox on the left of the screen then click on the ‘Add Tag’ option in the button bar.
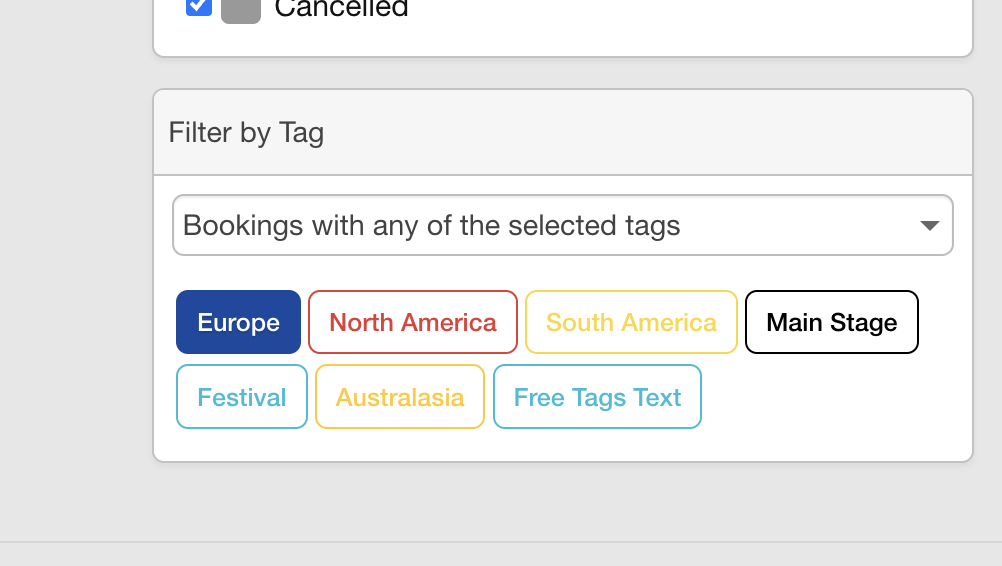
At present (Oct 2022) to search you can use the Tags selector on the Booking Report and on the Bookings List page but in the future we will be adding the option to search in many of the reports by simply adding the tag name into the main search box.