Overture allows you to send messages directly from within the application via the Overture Outbox. These messages can be setup in three sections in your settings.
- Settings > Messages
- Settings > Reminders
- Settings > Custom Messages
General Setup
We STRONGLY recommend that you follow the instructions in this article to setup your outbox to send from your own email address. This will improve the deliverability of messages which is especially important for sending Contracts and Invoices.
Connecting your own email address will also mean that all the messages you send from the Overture outbox will also appear in your sent items of the connected address.
For ease of integration we have developed direct OAuth connections to both Google and Microsoft so that setup is simple and allows you to use either of these services full security options such as Multi Factor Authentication.
If you don’t use Google or Microsoft you can connect your email directly using the standard SMTP settings section. You may need to ask your IT company to provide you with the credentials for this.
Before you start please make sure that the email address on your contact record in Overture is the same as the address you are going to connect and that there are no current settings saved in the ‘Other Providers’ section.
If you use Google or GSuite
Head over to Settings > Email Settings where you will find the blue button labelled ‘Sign in with Google’.
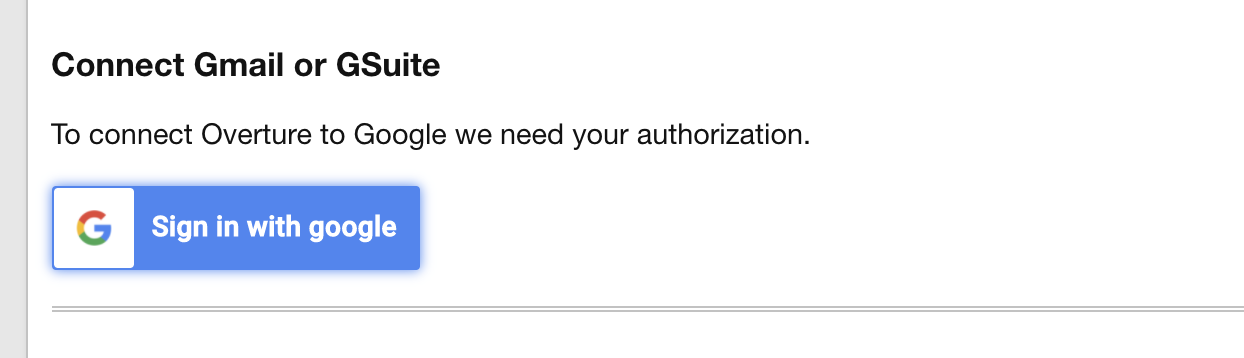
All you need to do is to click that button and follow the steps inside your Google account making sure to connect the email address you have inside Overture on your account.
You can have Multi Factor Verification setup on your Google Account and you will still be able to connect to Overture.
If you use Office 365 / Microsoft Exchange
Again head over to the same page Settings > Email Settings where you will find a black button labelled ‘Sign in with Microsoft’
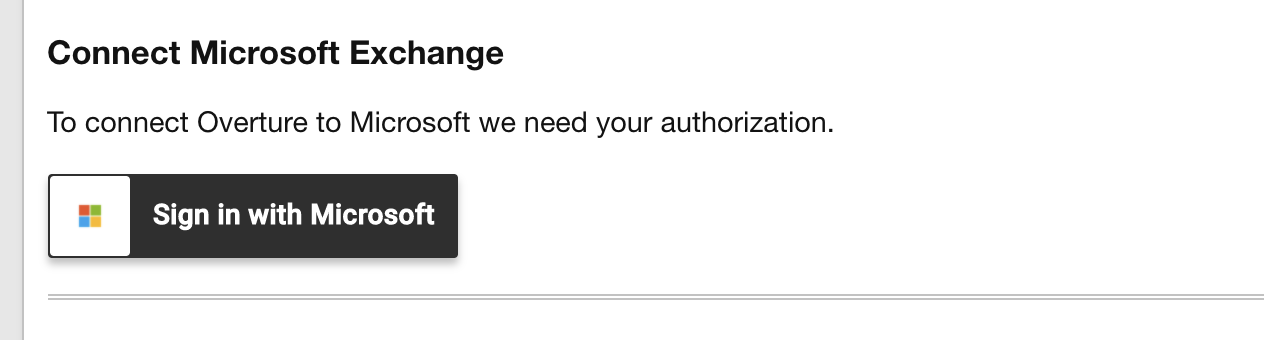
Click that button and follow the steps from within your Microsoft account to connect the email address. If you have MFA setup you may need to approve the connection inside the Authentication app.
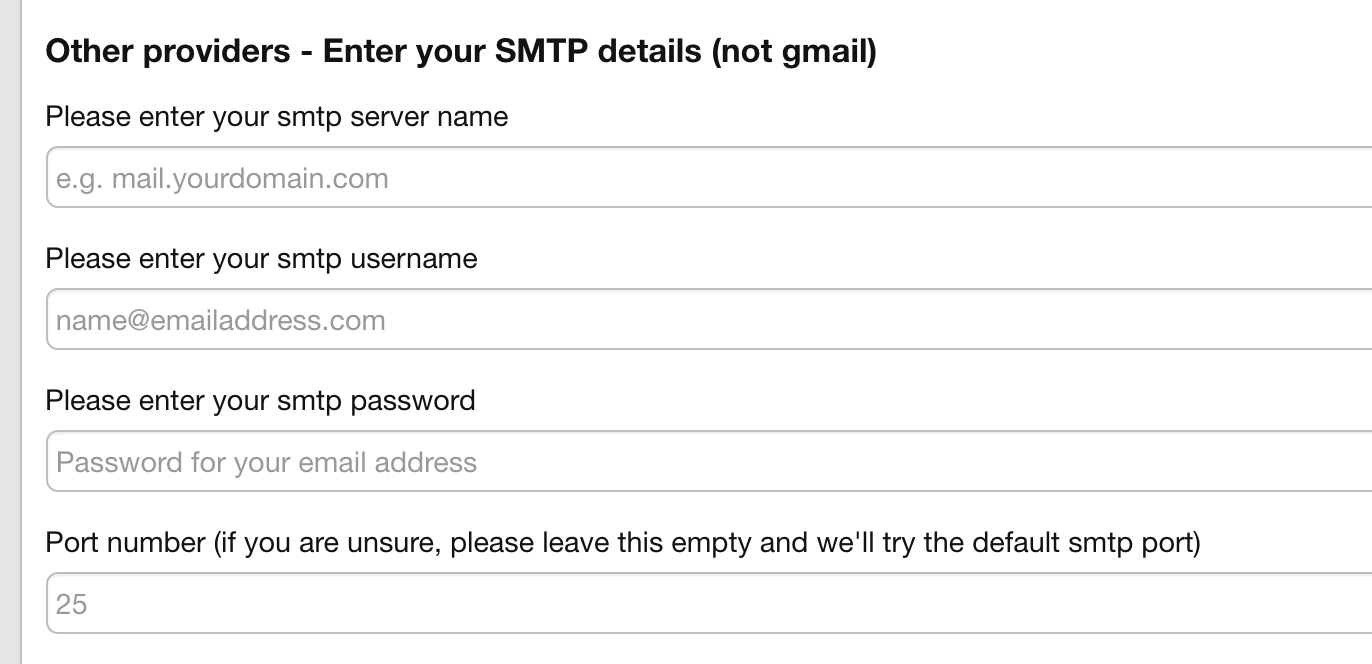
If you use your own mail server
As mentioned previously you may need these details from your IT provider or your Email Server provider.
Most companies that provide web hosting and email addresses have a page in their help documentation with details on how to connect emails via SMTP so give their support section a search to find out the information you need.
It usually follows this outline.
- SMTP server name – send.companyname.com for example (send.one.com)
- SMTP username – your email address
- SMTP password – your password for that email address
- Port Number – usually 587 for SSL or TLS
- Check the option that says ‘Use SSL / TLS’